Introduction to Maple Bars
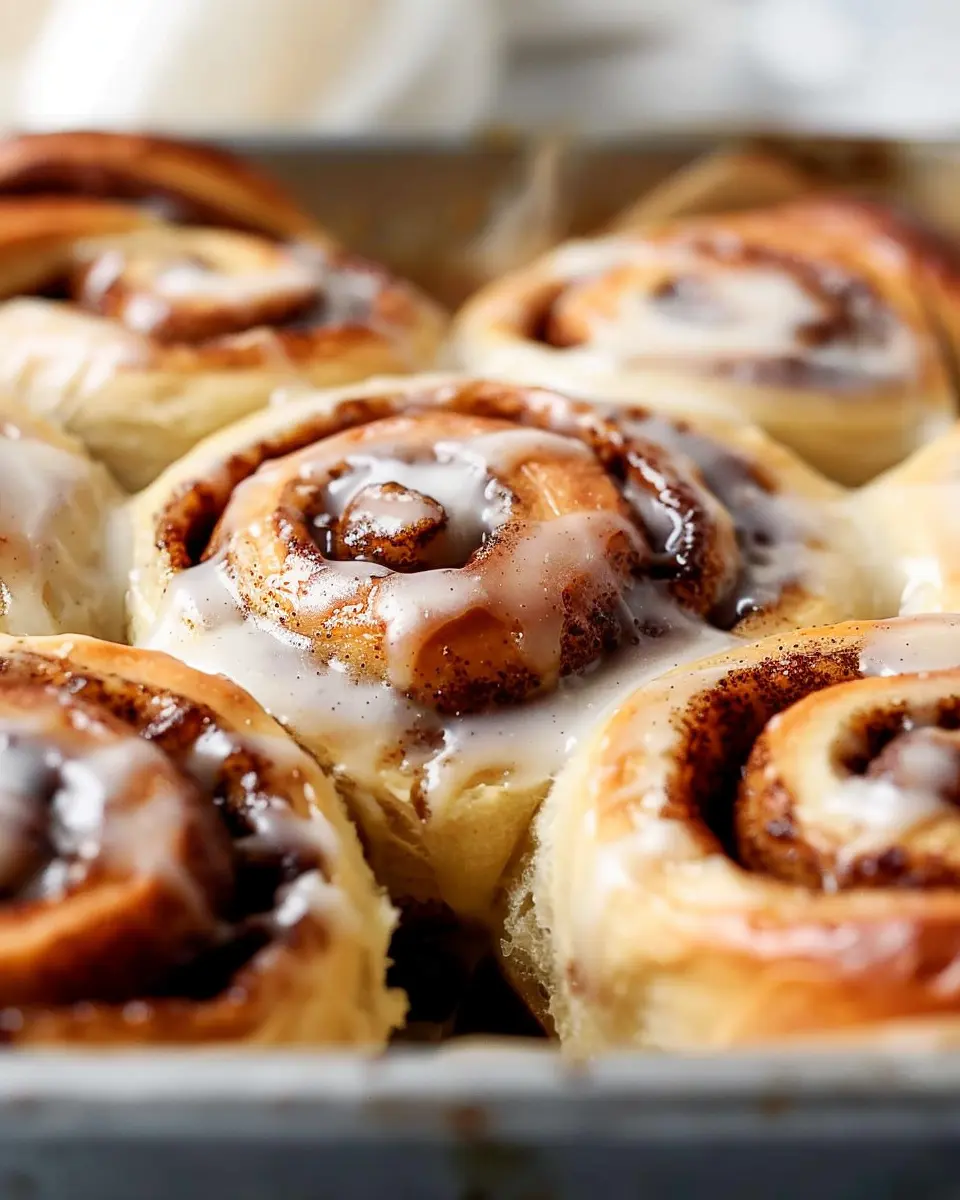
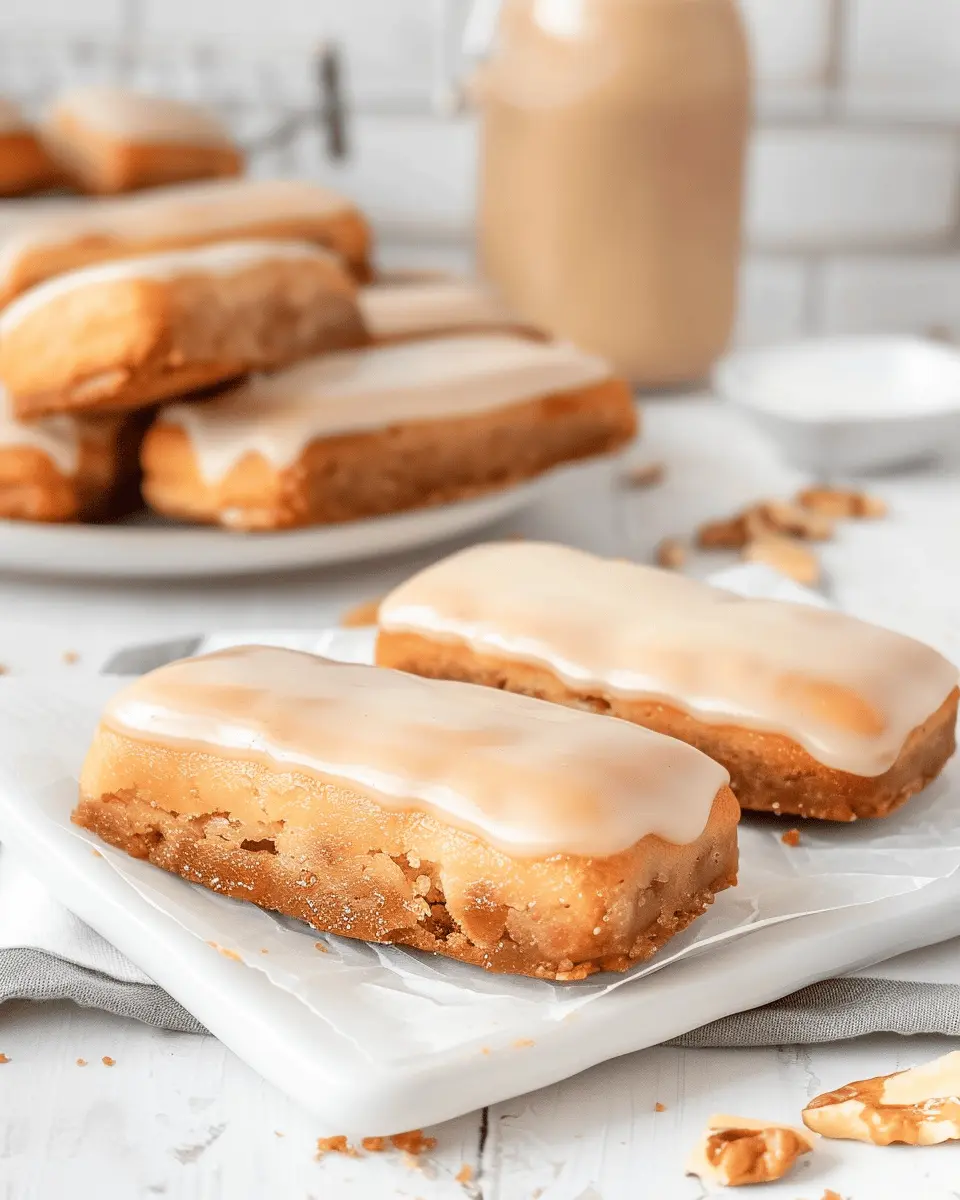
If you’ve never had the pleasure of biting into a maple bar, you’re in for a treat! This delightful pastry is a unique blend of comfort and indulgence—perfect for breakfast, a midday snack, or any occasion that calls for a touch of sweetness. With their rich maple glaze atop a soft, fluffy dough, these bars offer the perfect canvas for a variety of toppings and flavors.
Why Maple Bars are the Perfect Homemade Treat
Think of maple bars as a warm hug on a plate. Homemade treats have a way of uplifting spirits, and few things can evoke nostalgia quite like the aroma of baked goods wafting through your kitchen. The preparation is straightforward, making it an ideal project for both seasoned bakers and novices alike.
When you make these bars at home, you have the power to customize them to your heart’s content. Perhaps you want to add a hint of cinnamon for an extra warm touch or even substitute some of the ingredients for healthier options. The best part is that you know exactly what’s going into your treats, allowing you to make them as healthy or indulgent as you desire.
Plus, sharing homemade maple bars can forge connections with friends and family. Imagine surprising your coworkers with a batch—who wouldn’t appreciate the kind gesture of homemade goodness? You might just spark an impromptu coffee break filled with laughter and bonding over your delicious creation. According to a study by the Journal of Consumer Research, homemade food can create feelings of goodwill and gratitude among people, making it more than just a tasty snack.
If you’re eager to dive deeper into the world of baking, consider checking out resources like King Arthur Baking for expert tips or Taste of Home for additional recipes. Both sites are treasure troves for baking enthusiasts at any level.
So whether you’re a busy professional looking for a sweet pick-me-up or aiming to impress at your next gathering, maple bars might just be the perfect solution. Ready to create some memories through these delicious treats? Let’s get baking!
Ingredients for Maple Bars
Key ingredients for delicious maple bars
Making maple bars is simple yet delightful! Here are the essentials you’ll need:
- All-Purpose Flour: This serves as the base for a tender, fluffy texture.
- Sugar: Granulated sugar sweetens without overpowering the maple flavor.
- Baking Powder: A must for that light and airy rise.
- Salt: Just a pinch enhances the overall flavor.
- Butter: Use unsalted for the best results; it adds richness.
- Milk and Egg: These ingredients bring moisture and structure to your maple bars.
- Maple Syrup: The star of the show, pick a pure version for authentic flavor.
Curious about the history of maple syrup? You might find it interesting that it’s been a treasured ingredient in North America since the Indigenous people first tapped trees!
Optional add-ins for customized flavor
Want to elevate your maple bars? Consider these add-ins:
- Nuts: Chopped walnuts or pecans add a great crunch.
- Chocolate Chip: A subtle hint of chocolate pairs beautifully with maple.
- Turkey Bacon: For a savory twist, crispy turkey bacon can bring an unexpected kick.
- Spices: A dash of cinnamon or nutmeg can warm up the flavors.
Feel free to mix and match to find your perfect combination! And if you’re interested in exploring other dessert options, check out this delicious maple syrup dessert page.
Step-by-step Preparation of Maple Bars
Making maple bars at home is a delightful experience that combines simple ingredients with satisfying results. Let’s dive into the preparation steps so you can enjoy these glorious treats fresh from your oven!
Gather and measure the ingredients
Before we get our hands floury, let’s ensure we have everything lined up. Here’s what you’ll need:
- 2 cups all-purpose flour
- 1 cup granulated sugar
- 1/2 cup unsalted butter, softened
- 1 large egg
- 1/2 teaspoon baking powder
- 1/4 teaspoon salt
- 1/2 teaspoon vanilla extract
- 1 tablespoon maple syrup (the real stuff, if possible!)
- For the maple glaze:
- 2 cups powdered sugar
- 3 tablespoons milk
- 2 tablespoons maple syrup
Take a moment to measure these carefully; having all your ingredients prepped not only saves time but also brings joy to the process! If you’re curious about the differences between the various types of maple syrups, check out this helpful guide on maple syrup for more insights.
Prepare the dough
Now that you’re equipped with your ingredients, it’s time for the fun part! Start by creaming the butter and sugar together in a large mixing bowl. This should take about 3 to 5 minutes until it’s light and fluffy. Next, beat in the egg, vanilla extract, and maple syrup until they’re fully combined.
In a separate bowl, whisk together the flour, baking powder, and salt. Gradually add this dry mix to your wet mix, stirring until everything comes together smoothly. The dough should be slightly sticky, but if it feels too wet, feel free to add a bit more flour.
Shape the maple bars
Once your dough is ready, it’s time to shape our maple bars! Dust your workspace with a little flour and roll out the dough to about 1/2 inch thick. Now, using a sharp knife or a pizza cutter, cut the dough into rectangular pieces—about 2 inches by 6 inches is a good standard size.
Don’t worry about getting them perfect; slightly irregular shapes add charm! Remember to place the cut pieces onto a parchment-lined baking sheet, leaving space between each.
Bake to perfection
Preheat your oven to 350°F (175°C). Once it’s hot, bake your maple bars for about 15-20 minutes or until they’re lightly golden. The aroma will fill your kitchen, and you might find it difficult to resist sneaking a peak (and maybe a nibble).
When they’re done, take them out and let them cool on a wire rack. This cooling step is crucial since you want them sturdy enough to hold the glaze without falling apart.
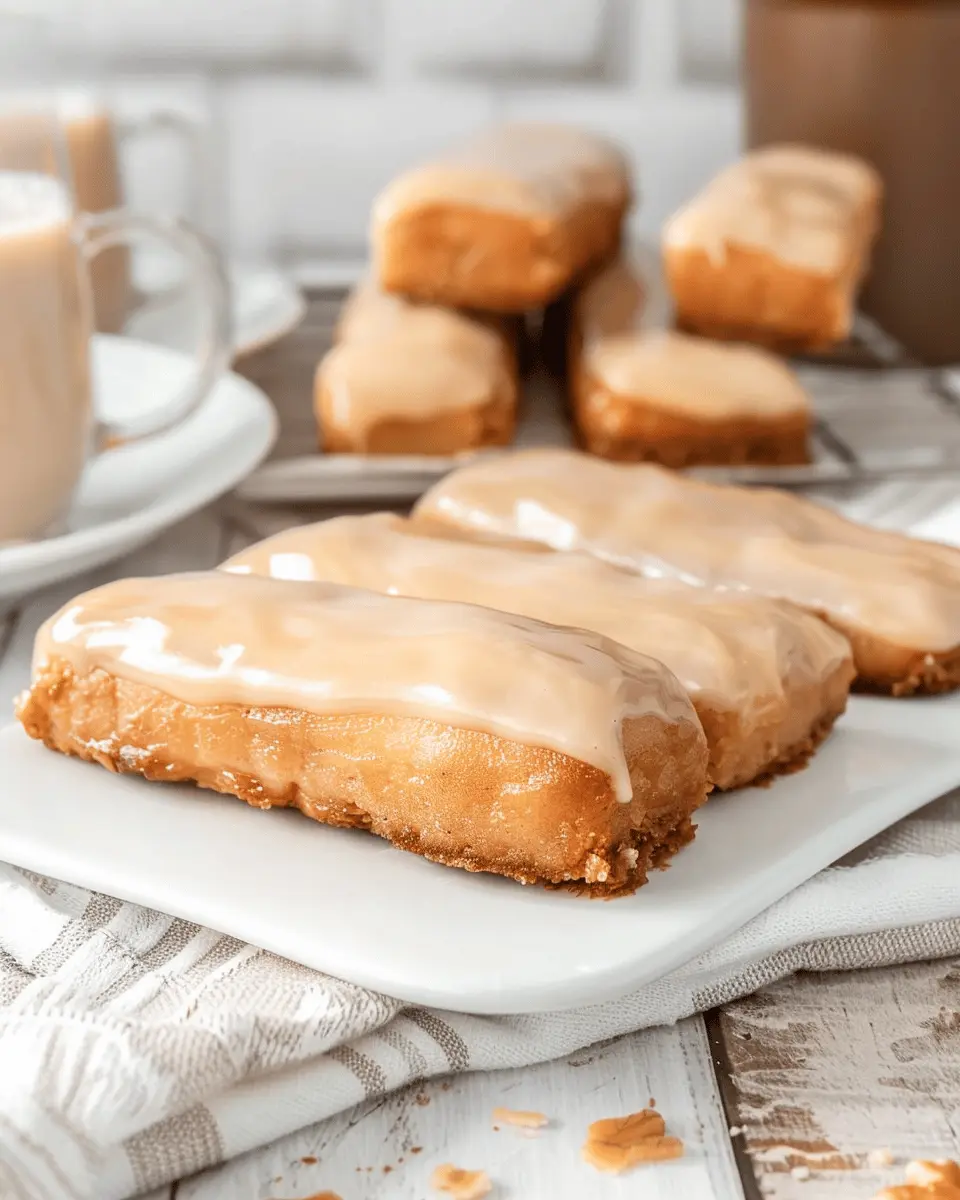
Make the maple glaze
While your bars are cooling, let’s whip up that luscious glaze! In a medium mixing bowl, combine the powdered sugar, milk, and maple syrup. Whisk it until smooth; you’re aiming for a consistency that’s thick yet pourable. If it’s too thick, just add a splash of milk!
This glaze is the crowning glory of your maple bars, so taste a little—trust me, you’ll be glad you did.
Drizzle glaze over the cooled bars
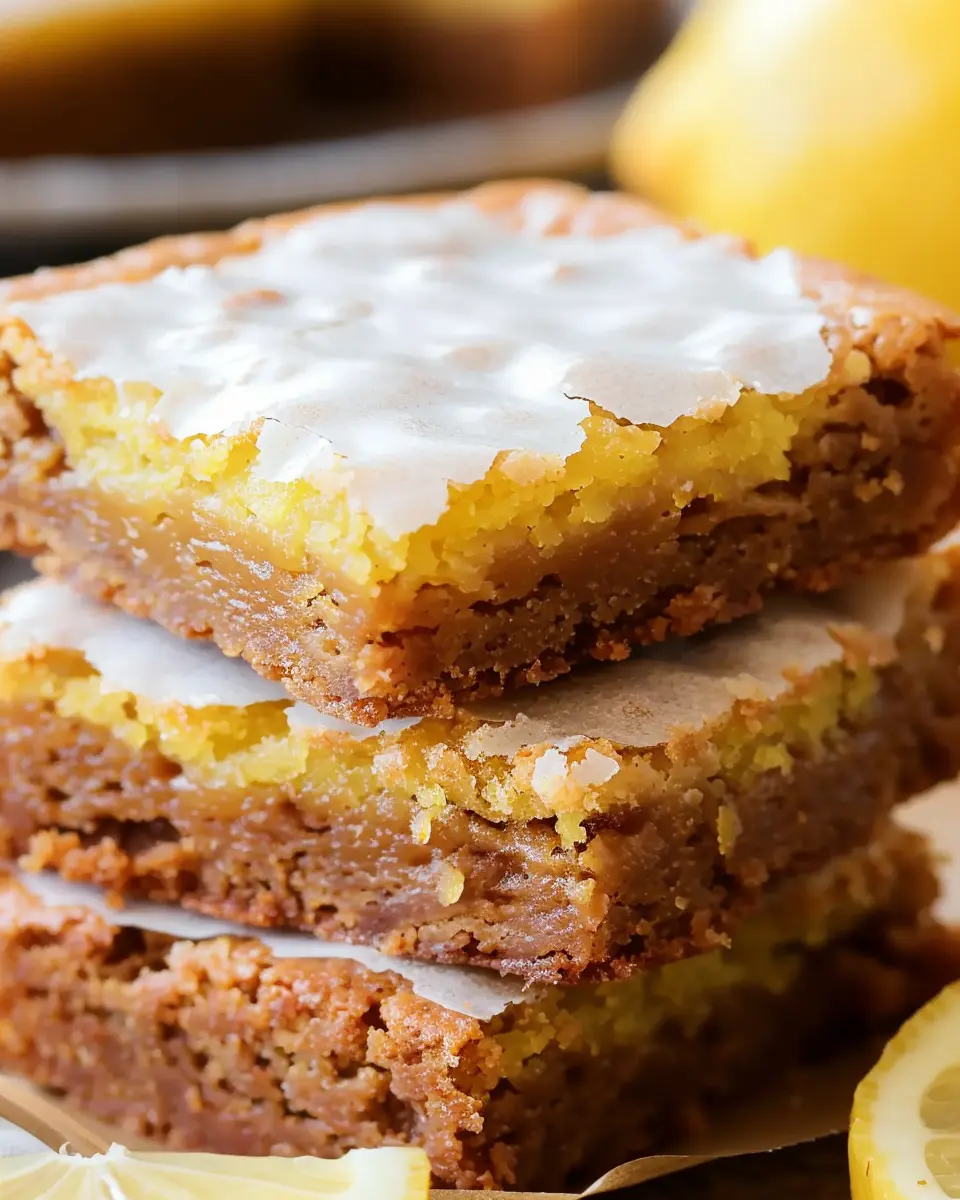
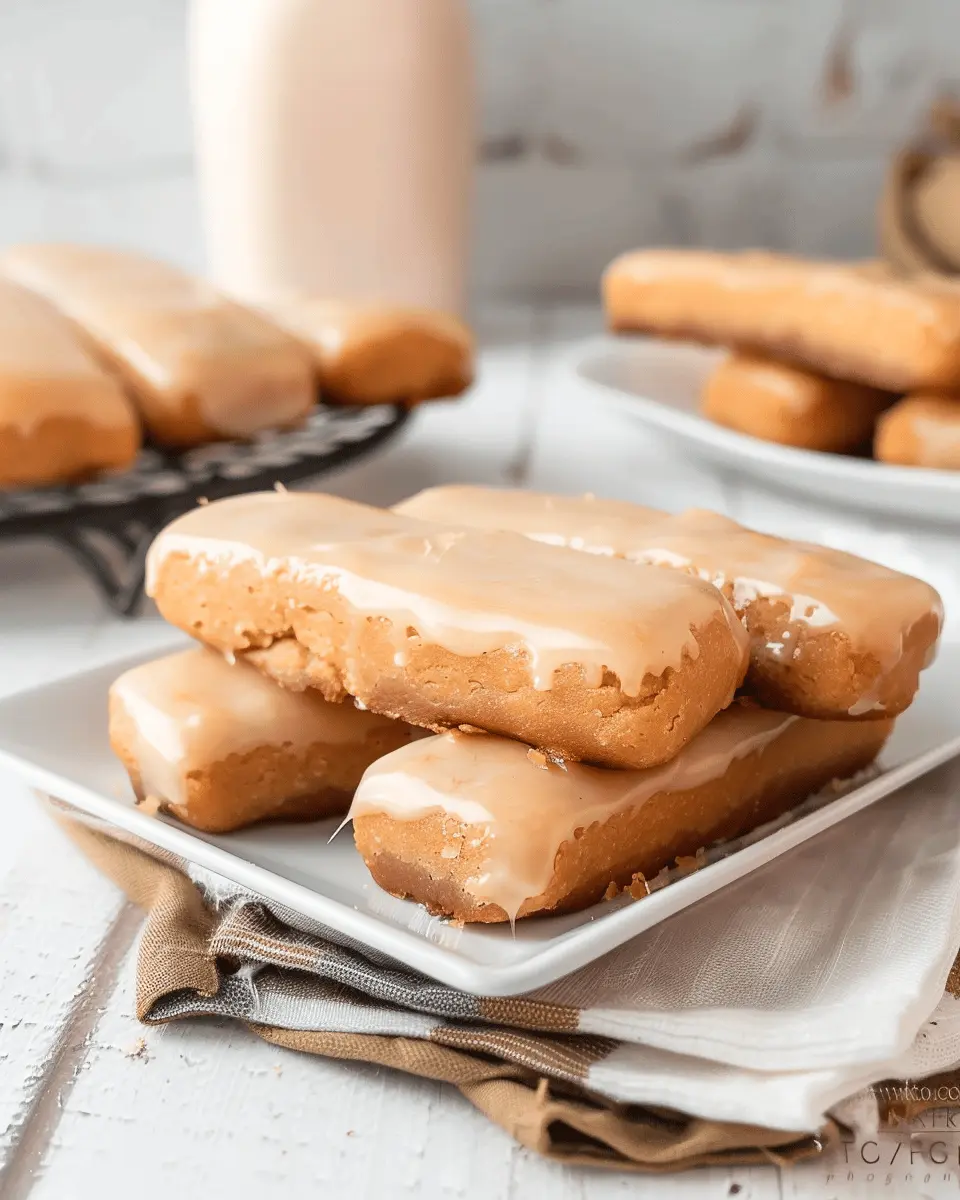
Once your maple bars have cooled completely, it’s time to shine! Using a spoon or spatula, drizzle the glaze generously over each bar. Allow it to set for just a few moments. If you can resist taking a bite right away, you’ll find that the glaze firms up nicely.
There you have it—your very own maple bars ready to be devoured! They’re perfect for sharing during brunch with friends or enjoying as a sweet treat with your post-work coffee. Embrace your baking skills, and enjoy the compliments that come your way!
Variations on Maple Bars
When it comes to maple bars, there’s a delightful world of variations that can elevate this traditional treat. Let’s explore some delicious twists that’ll keep your friends and family coming back for more!
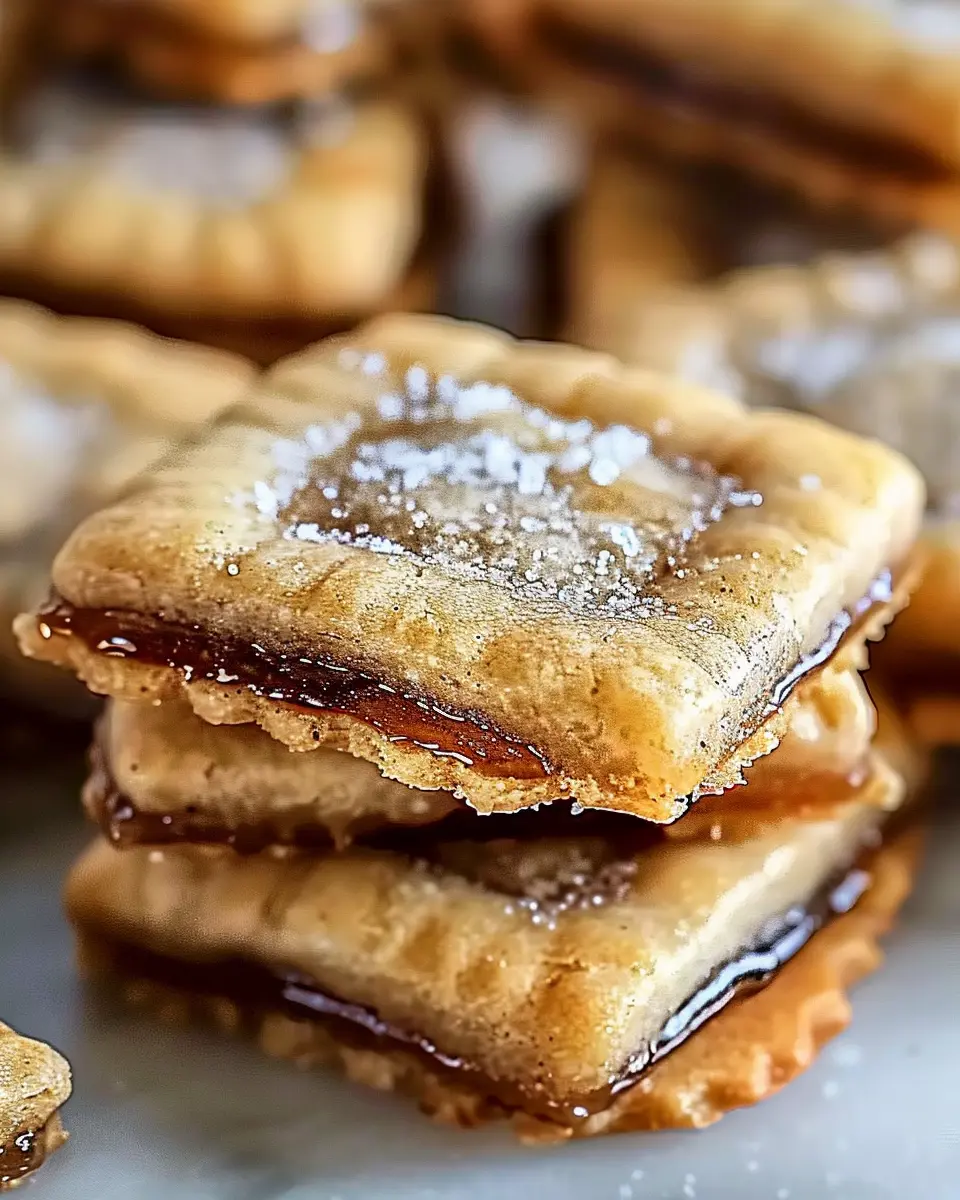
Maple Bar with Nuts and Sprinkles
Imagine biting into a soft, fluffy maple bar topped with an explosion of crunch from nuts and a dash of color from sprinkles. To create this mouthwatering version, simply sprinkle chopped walnuts or pecans over your icing right after it sets, allowing them to stick firmly. For added flair, include vibrant sprinkles to bring a festive touch. This version is not only aesthetically pleasing but also adds a wonderful texture. Think birthday parties or casual brunches—these maple bars are sure to impress!
Chocolate-Drizzled Maple Bars
For the chocolate lovers among us, consider drizzling melted chocolate over your freshly frosted maple bars. Dark chocolate complements the sweet, caramel notes of maple perfectly, making for an indulgent treat. To make these, melt some chocolate chips and drizzle them over cooled maple bars in a zig-zag pattern. The combination of sweet and slightly bitter offers a sophisticated twist that pairs beautifully with your morning coffee or as an afternoon snack. An added bonus? Chocolate is said to boost mood, making these bars a double treat!
Exploring different variations of maple bars can provide fresh new flavors and textures that enhance your homemade goodies. Plus, they spark creativity in the kitchen! What unique twists have you tried? Whether you keep it classic or get adventurous, these bars are sure to satisfy. For more inventive recipes, check out Food Network for ideas that push culinary boundaries!
Cooking Tips and Notes for Maple Bars
Essential baking tips for best results
When baking maple bars, achieving that perfect texture and flavor is key. Here are some essential tips:
- Use fresh ingredients: Fresh baking powder can make a big difference. Always check the expiration date.
- Room temperature ingredients: Ensure your eggs and butter are at room temperature for a smooth batter.
- Don’t rush the dough: Allow the dough to chill for the recommended time in the recipe. This prevents spreading and helps maintain the bars’ shape.
- Experiment with toppings: Feel free to add a sprinkle of chopped walnuts or pecans on top of your glaze for extra crunch.
How to store leftover maple bars
Got some delicious maple bars left over? Lucky you! To keep them fresh:
- Room temperature: Store them in an airtight container at room temperature for up to 2 days.
- Refrigerate: For longer storage, refrigerate them, and they should last up to a week.
- Freezing: You can freeze them for up to 3 months. Just wrap each bar tightly in plastic wrap and place them in a freezer-safe bag.
For more tips on baking storage, visit The Kitchn. Enjoy your sweet treats!
Serving Suggestions for Maple Bars
Ideal pairings for your maple bars
These delightful maple bars shine brightest when paired with complementary flavors. For a comforting breakfast or brunch, consider serving them alongside:
- Turkey Bacon: The savory notes balance the sweetness perfectly.
- Chicken Ham: A hint of umami to offset the maple glaze.
- Fresh fruit: Think berries or sliced apples, which add brightness and freshness.
For drinks, a warm cup of coffee or a spiced chai latte can enhance the flavor experience. According to a study by the National Coffee Association, coffee enhances sweetness perception, making those maple bars even more irresistible.
Presentation ideas for gatherings
When it comes to serving your maple bars, presentation matters! Here are some ideas to impress your guests:
- Platter display: Arrange maple bars on a colorful cake stand, draping with a light sprinkle of powdered sugar.
- Individual servings: Cut bars into smaller square portions, wrapping them in parchment paper for a charming, rustic look.
- Garnishes: Top with chopped nuts or a drizzle of caramel for added flair and texture.
When you present them beautifully, the bars not only taste great but also become a focal point that sparks conversations! Don’t forget to check out creative serving boards at Food52 for added inspiration.
Time Breakdown for Maple Bars
Preparation Time
Making maple bars is an easy and satisfying process that begins with roughly 30 minutes of prep time. This includes gathering your ingredients, mixing your wet and dry components, and letting the dough rise. Pro tip: A warm kitchen helps the dough rise faster, so consider turning on the oven for a bit—just remember to turn it off before you place your dough in!
Baking Time
Once your dough has risen, it’s time for the magic to happen! Baking these maple bars typically takes about 20 minutes. Keep an eye on them; they should turn golden brown and smell fantastic.
Total Time
From start to finish, you’re looking at about 50 minutes until your delicious maple bars are ready for enjoyment. This is the perfect recipe to make on a lazy weekend morning or as a sweet treat after work. For a delightful pairing, consider enjoying them with a cup of coffee or your favorite herbal tea.
If you’re curious about exploring more about baking techniques, The Kitchn offers a wealth of information!
Nutritional Facts for Maple Bars
Calories per serving
When indulging in delicious maple bars, it’s helpful to know what you’re consuming. On average, a single serving contains around 250 calories. This makes them a sweet treat that can fit into a balanced diet, especially when enjoyed in moderation.
Key nutrients and values
These delightful pastries are not just about calories; they also pack a nutritious punch:
- Carbohydrates: Roughly 36 grams per serving, providing quick energy.
- Sugars: Around 15 grams, giving that sweet maple flavor.
- Fat: Generally about 10 grams, contributing to their delightful texture.
- Protein: A modest 3 grams, but every bit counts!
- Vitamins and Minerals: They often include small amounts of calcium and iron, thanks to the enriched flour and networking with other ingredients.
While maple bars aren’t a health food, they can be enjoyed as part of a varied diet. For more insights on nutrient values, check out the USDA FoodData Central for comprehensive data on baked goods. Remember, balancing your sweet cravings with wholesome meals helps keep your diet on track!
FAQs about Maple Bars
Can I substitute ingredients in the maple bar recipe?
Absolutely! Baking is all about creativity. Here are a few substitutions you can try:
- Flour: If you’re looking for a gluten-free option, almond or coconut flour can work well, though they may alter the texture slightly.
- Milk: Use almond or oat milk for a dairy-free alternative that doesn’t compromise on flavor.
- Sweeteners: Maple syrup can be swapped out for honey or agave nectar, which will give you a different sweetness profile.
Just remember that any change might tweak the final result a bit, so don’t hesitate to experiment!
How do I know when my maple bars are done baking?
Timing is key when baking maple bars. Generally, a good rule of thumb is to bake them for about 20-25 minutes at 350°F (175°C). Look for these signs to determine doneness:
- Golden-brown edges
- A toothpick inserted in the center comes out clean or with just a few crumbs attached.
Trust your instincts—if they smell heavenly and look golden, they’re likely done!
What’s the best way to store maple bars for freshness?
To keep your maple bars as delicious as the day you made them, follow these storage tips:
- Room Temperature: If consumed within a couple of days, store them in an airtight container at room temperature.
- Refrigeration: For longer shelf life, place them in the fridge. Just make sure they’re in a sealed container to prevent drying out.
- Freezing: You can freeze them for up to a month. Just wrap each bar individually in plastic wrap and then place them in a freezer bag.
For more tips on preserving baked goods, check out this great resource on food storage.
Baking maple bars can be a fun, rewarding experience, especially when shared with friends. Happy baking!
Conclusion on Maple Bars
Recap of Why Homemade Maple Bars Are Worth the Effort
Homemade maple bars are more than just a delicious treat; they bring a sense of accomplishment and nostalgia that store-bought options simply can’t match. The warm, sweet aroma of freshly baked goods wafting through your kitchen transforms any ordinary day into something special.
Making these delightful pastries allows you to customize flavors, choose high-quality ingredients, and hone your baking skills, which can be quite fulfilling. Plus, what’s more delightful than sharing fresh maple bars with friends or family at your next gathering? If you’re still debating whether to take the plunge, consider this: investing time in crafting these beauties can lead to cherished memories and compliments from loved ones.
So, roll up your sleeves, gather your ingredients, and treat yourself to the joy of homemade maple bars!
For tips on perfecting homemade pastries, check out resources like King Arthur Baking or Bon Appétit.
Ready to flavor your world with these delightful bars?
PrintMaple Bars: Indulgent Treats to Elevate Your Baking Game
Learn how to make delicious maple bars that will elevate your baking skills with this easy recipe.
- Prep Time: 15 minutes
- Cook Time: 30 minutes
- Total Time: 45 minutes
- Yield: 12 servings 1x
- Category: Dessert
- Method: Baking
- Cuisine: American
- Diet: Vegetarian
Ingredients
- 1 cup maple syrup
- 1/2 cup unsalted butter, softened
- 2 cups all-purpose flour
- 1 cup powdered sugar
- 2 large eggs
- 1 teaspoon baking powder
- 1/2 teaspoon vanilla extract
- 1/4 teaspoon salt
Instructions
- Preheat the oven to 350°F (175°C).
- In a bowl, mix together the softened butter and maple syrup until well combined.
- Add the eggs one at a time, beating well after each addition.
- Sift together the flour, baking powder, and salt in another bowl.
- Gradually add the dry ingredients to the wet mixture, stirring until just combined.
- Pour the batter into a greased baking pan and smooth the top.
- Bake for 25-30 minutes or until a toothpick comes out clean.
- Let cool before frosting with powdered sugar mixed with a splash of maple syrup.
Notes
- For added flavor, replace some of the vanilla with maple extract.
- These bars can be topped with chopped nuts for extra crunch.
Nutrition
- Serving Size: 1 bar
- Calories: 250
- Sugar: 18g
- Sodium: 150mg
- Fat: 10g
- Saturated Fat: 6g
- Unsaturated Fat: 4g
- Trans Fat: 0g
- Carbohydrates: 36g
- Fiber: 1g
- Protein: 3g
- Cholesterol: 40mg
Keywords: Maple Bars, Baking, Desserts